An AI assistant on your website: what does it do for a small business?
Answering at night, sorting requests, freeing up the phone: what an AI assistant really changes for a shop or a tradesperson.
Code to paste, settings, testing: the steps to install an AI assistant on a WordPress, Wix or Shopify website, and the pitfalls to avoid along the way.
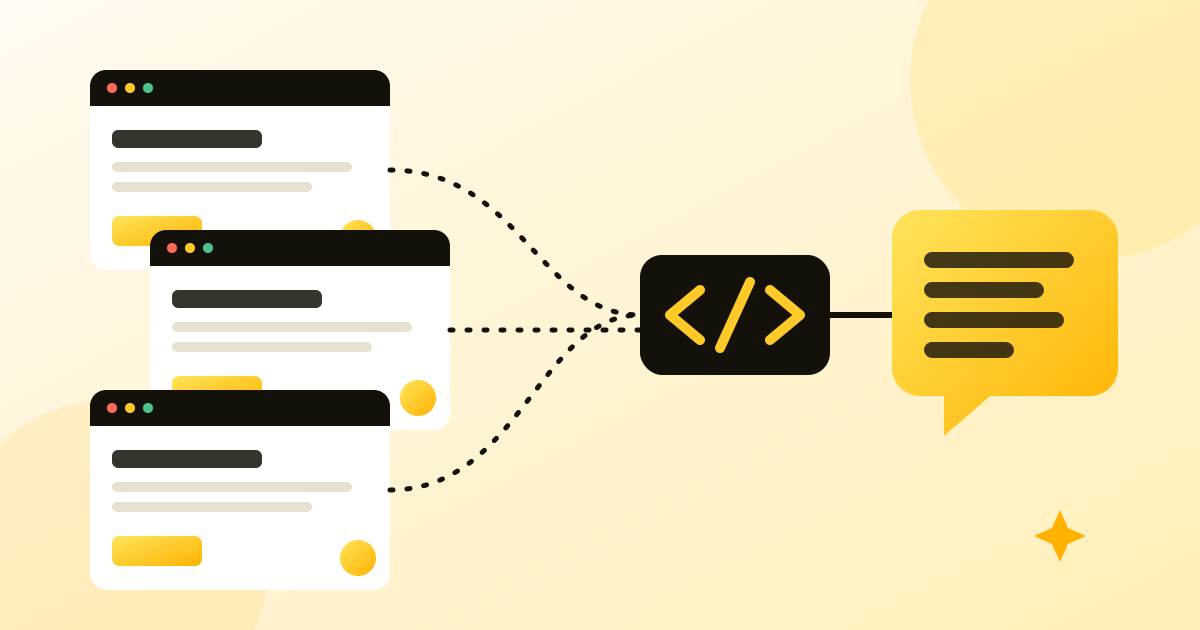
Is your website built on WordPress, Wix or Shopify, or was it custom-made by an agency? Good news: adding an AI assistant does not mean rebuilding your website. In the vast majority of cases, it all comes down to one line of code pasted in the right place. Here is how it works.
A website AI assistant almost always works the same way: a small script, provided by the tool, displays the chat bubble at the bottom of your pages. The AI itself does not run on your website but on the provider's servers. Your website is neither slowed down nor deeply modified.
The code usually looks something like this:
<script src="https://assistant.example.com/widget.js" data-site="your-id" defer></script>
| Platform | Where to add the code |
|---|---|
| WordPress | A plugin that inserts code into the header or footer, or the child theme's template file |
| Wix | Site settings, custom code section, placed in the body of all pages |
| Shopify | Edit the theme code, main theme file, just before the end of the page |
| Squarespace, Webflow | The code injection area in the site settings |
| Custom website | The developer adds it to the template shared by all pages |
Exact menu names change from one version to the next: if in doubt, search for “add custom code” in your platform's help pages.
For websites created with Flopix, the French website builder, no code is needed: the assistant is built in, already knows your information (opening hours, contact details, description) and can even update your website when you ask, after your confirmation.
Flopia will install on any website with one line of code, and with nothing to do on Flopix websites. She is currently being tested: sign up to be notified at launch.
Answering at night, sorting requests, freeing up the phone: what an AI assistant really changes for a shop or a tradesperson.
When a customer writes to your chatbot, where does the message go? Local model or major provider, GDPR, training: what to know before choosing.
Since 2 August 2026, the AI Act's transparency obligations apply. Here is what that changes for the chatbot on your website.